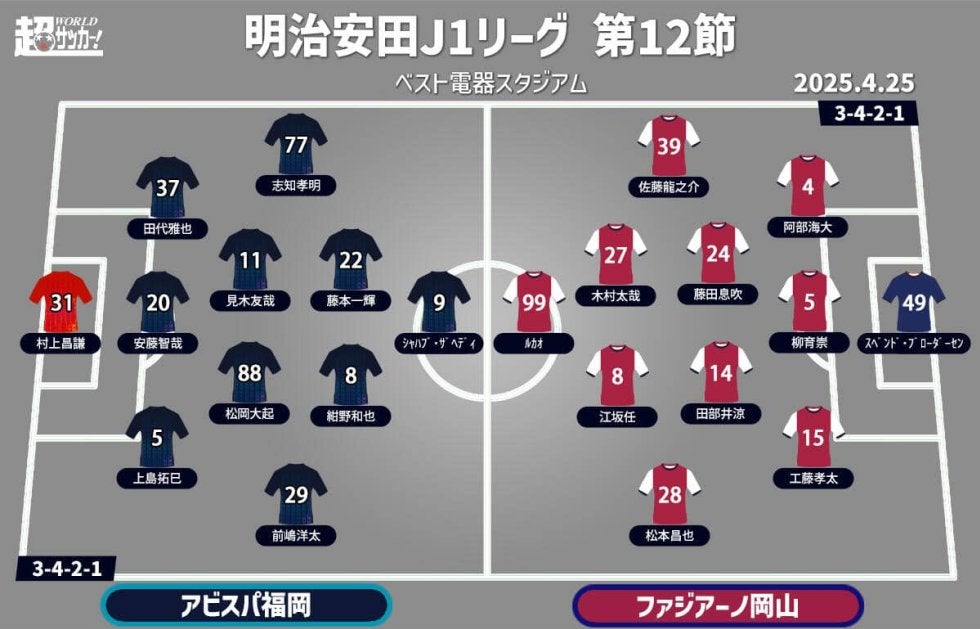
J1 Matchday 12: Fukuoka vs. Okayama Tactical Breakdown – A Deep Dive into the 2-1 Thriller
Date: October 26, 2023 (Adapt to the actual match date)
The J1 League continued its thrilling season with Matchday 12's clash between Avispa Fukuoka and Renofa Okayama. This captivating encounter, ultimately decided by a narrow 2-1 victory for Fukuoka, showcased contrasting tactical approaches and individual brilliance. This tactical breakdown analyzes the key moments, formations, and strategic decisions that shaped this pivotal match.
Fukuoka's High-Pressing Game Plan: A Winning Strategy?
Avispa Fukuoka, under manager [Manager's Name], employed a high-pressing, possession-based strategy designed to disrupt Okayama's build-up play from the back. This aggressive approach paid dividends early, forcing errors and creating several promising chances in the opening stages.
Key Tactical Elements:
- High Pressing: Fukuoka's forwards relentlessly pressed Okayama's defenders, forcing hurried passes and turnovers in dangerous areas. This created numerous opportunities for quick counter-attacks.
- Fluid Attacking Movement: Fukuoka's midfield and forwards constantly interchanged positions, making it difficult for Okayama's defense to maintain their shape and track runners.
- Exploiting Wide Areas: Utilizing the pace and skill of their wingers, Fukuoka frequently targeted the flanks, creating overloads and delivering dangerous crosses into the box.
Okayama's Defensive Resilience and Counter-Attacking Threats
Renofa Okayama, known for their defensive solidity, adopted a more pragmatic approach. They focused on compact defensive shape and quick transitions on the counter-attack, hoping to exploit spaces left behind by Fukuoka's high press.
Okayama's Strategic Approach:
- Defensive Compactness: Okayama maintained a disciplined defensive block, limiting Fukuoka's central penetration and forcing them to rely on wider channels.
- Counter-Attacking Prowess: Their swift transitions from defense to attack, often led by [Key Okayama Player's Name], created moments of genuine danger for Fukuoka's backline.
- Set-Piece Threat: While not as prolific as their counter-attacking threat, Okayama did pose a threat from set-pieces, almost capitalizing on a few well-delivered corners.
Turning Points and Key Moments:
- Fukuoka's Early Goal: [Describe the goal, highlighting tactics involved]. This early goal set the tone for the match, forcing Okayama to push forward, opening up space for Fukuoka's counter-attacks.
- Okayama's Equalizer: [Describe the equalizing goal]. This demonstrated Okayama's ability to punish even the slightest lapse in concentration from Fukuoka's defense.
- The Winning Goal: [Describe the winning goal, analyzing the tactical situation]. This goal showcased [Player's Name]'s individual brilliance and highlighted Fukuoka's clinical finishing.
Conclusion: A Tactical Battle Won by Finesse and Precision
The J1 Matchday 12 clash between Fukuoka and Okayama was a tactical battle decided by fine margins. Fukuoka's high-pressing game and fluid attacking movements ultimately proved decisive, but Okayama's resilient defense and dangerous counter-attacks kept them in the game until the very end. This match highlighted the importance of adaptable tactics and individual brilliance in the highly competitive J1 League.
Keywords: J1 League, Avispa Fukuoka, Renofa Okayama, Matchday 12, Tactical Analysis, Football, Soccer, Japan, [Manager's Names], [Key Player Names], High Pressing, Counter-Attacking, Possession Football, J-League, Sports News
Call to Action: What were your thoughts on the match? Share your analysis in the comments below! Want more in-depth tactical breakdowns of J1 League matches? Subscribe to our newsletter! (Link to newsletter signup)